The Mysteriously Unstable Mulberry (How to Handle a Re-fermentation)



There are a finite number of things that can go wrong in winemaking. One of them is re-fermentation: a second, unintended fermentation that occurs after wine is (thought to be) stable.
My first batch of Mulberry wine re-fermented in the bottles. You can read about my first explosion here. I made a rookie mistake of back-sweetening with fresh juice. But the following year, I was extra cautious stabilizing my Mulberry wine, I did not back-sweeten with fresh juice, and I had the same problem.
This article's purpose is not to explore whether mulberries are inherently unstable, although I suspect the variety that grows in my yard is resistant to stabilizers. Instead, I'll focus on your options, which are largely dependent on where the wine is when it re-ferments.
In a carboy
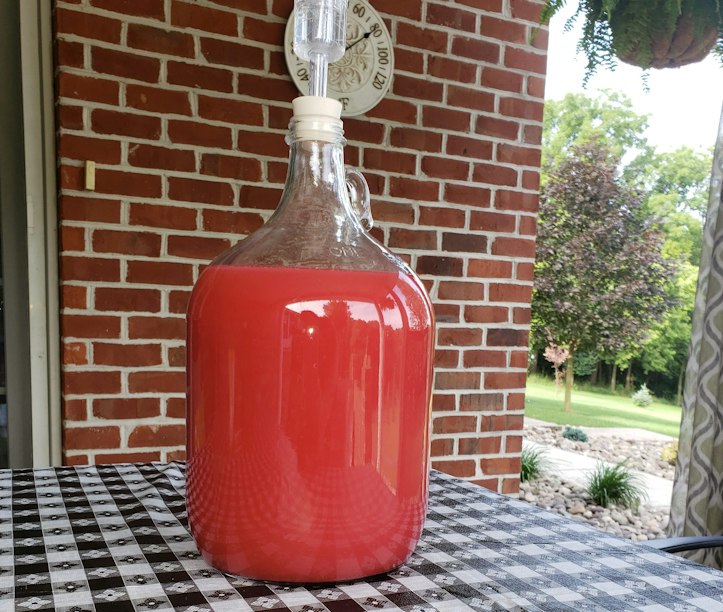
If re-fermentation happens in a carboy, it's easily remedied. Just let the yeast cells do their thing a second time, and wait for it to finish. The only drawbacks are the additional time needed to complete the cycle again and the difficulty calculating ABV.


In bottles
If re-fermentation happens in bottles, a thick, noticeable sediment will form along the bottom or sides, depending on how the bottles are stored. Some winemakers find this bothersome, but it's not necessarily a problem... yet. You can monitor and decide to act later if the re-fermentation reaches a more critical stage.
A more critical stage in the re-fermentation process is cork popping. Under the pressure of an active fermentation, corks are forced out of bottles by increasing C02 gas. When corks pop with such force, they take a lot of wine with them. Bottom line: you're going to lose wine.
A bottled wine requires many hours of a winemaker's time to get from original fermentation to bottle. So what can you do if corks start popping?
Both of my mulberry wine re-fermentations happened in the bottle, but in both cases, only some of the corks popped. The easiest thing to do when this happens is nothing. You can simply wait and see what happens with the remaining bottles.
If you decide to wait, there is one thing you can avoid doing to minimize additional cork-popping: don't move those bottles! Don't pick them up and look at them, don't turn them over, don't move them to a different rack, and whatever you do, don't put them in your car and drive them to a friend's house. Keep the problem bottles as still and stable as possible, and you might prevent additional popping. And be sure to drink them as soon as they're ready.
If you're not willing to risk additional loss and mess, pop those corks yourself. Uncork every bottle in the batch and transfer the wine back into a carboy. Let the second fermentation finish, just like you would for a normal, first fermentation. Complete the fining, filtering, stabilizing, and back-sweetening process again, and re-bottle. It's double the amount of you worked you planned for, but it saves what's left of your batch.
A final option is to uncork and drink the wine immediately. But depending on how large the batch is, or how young it is, that may not be realistic.
You'll also want to figure out what went wrong in the first place. Did you add the correct amount of stabilizers? Are your stabilizers old – maybe you've had the same potassium sorbate container for more than a year? Did you accidentally introduce a wild yeast?
Rather than crying over spilt wine, save the bottles you can save, and try again!